So much has been going on in the last 6-7 months that I haven't found time to create any posts about the cards I've made that I'm actually pretty proud of. Trying to recap on everything is going to be fun!! Luckily enough I can mostly recall what happened as I still posted the pictures on my Instagram. We'll skip Christmas and pop that into a separate post...
January/February
Stocktake started early, literally the first week of the month and lasted for almost the entire months of January and February - with a two week break in the middle. On top of that, my manager left at the end of January. Typical me fashion I had to raid the craft room to see what kind of card I could make to be given from my office. I came up with a kite card using a Crafters Companion kite die and a stamp - due to the time constraints to get the card made I decided to keep it simple. I was bit cheeky with how I did this. We had a Girlguiding Leaders activity day that we named "Beat The Blues" and each Division provided an activity for leaders to do and mine was making this card... so yeah bit sneaky and cheeky how I made this for an activity day and ended up giving it to my manager for his leaving!

As part of his leaving gift, we got him a decent bottle of whisky (I think it was!) and gift card. Now, I had recently bought a die to make a gift card holder so I got to experiment with that too.


March
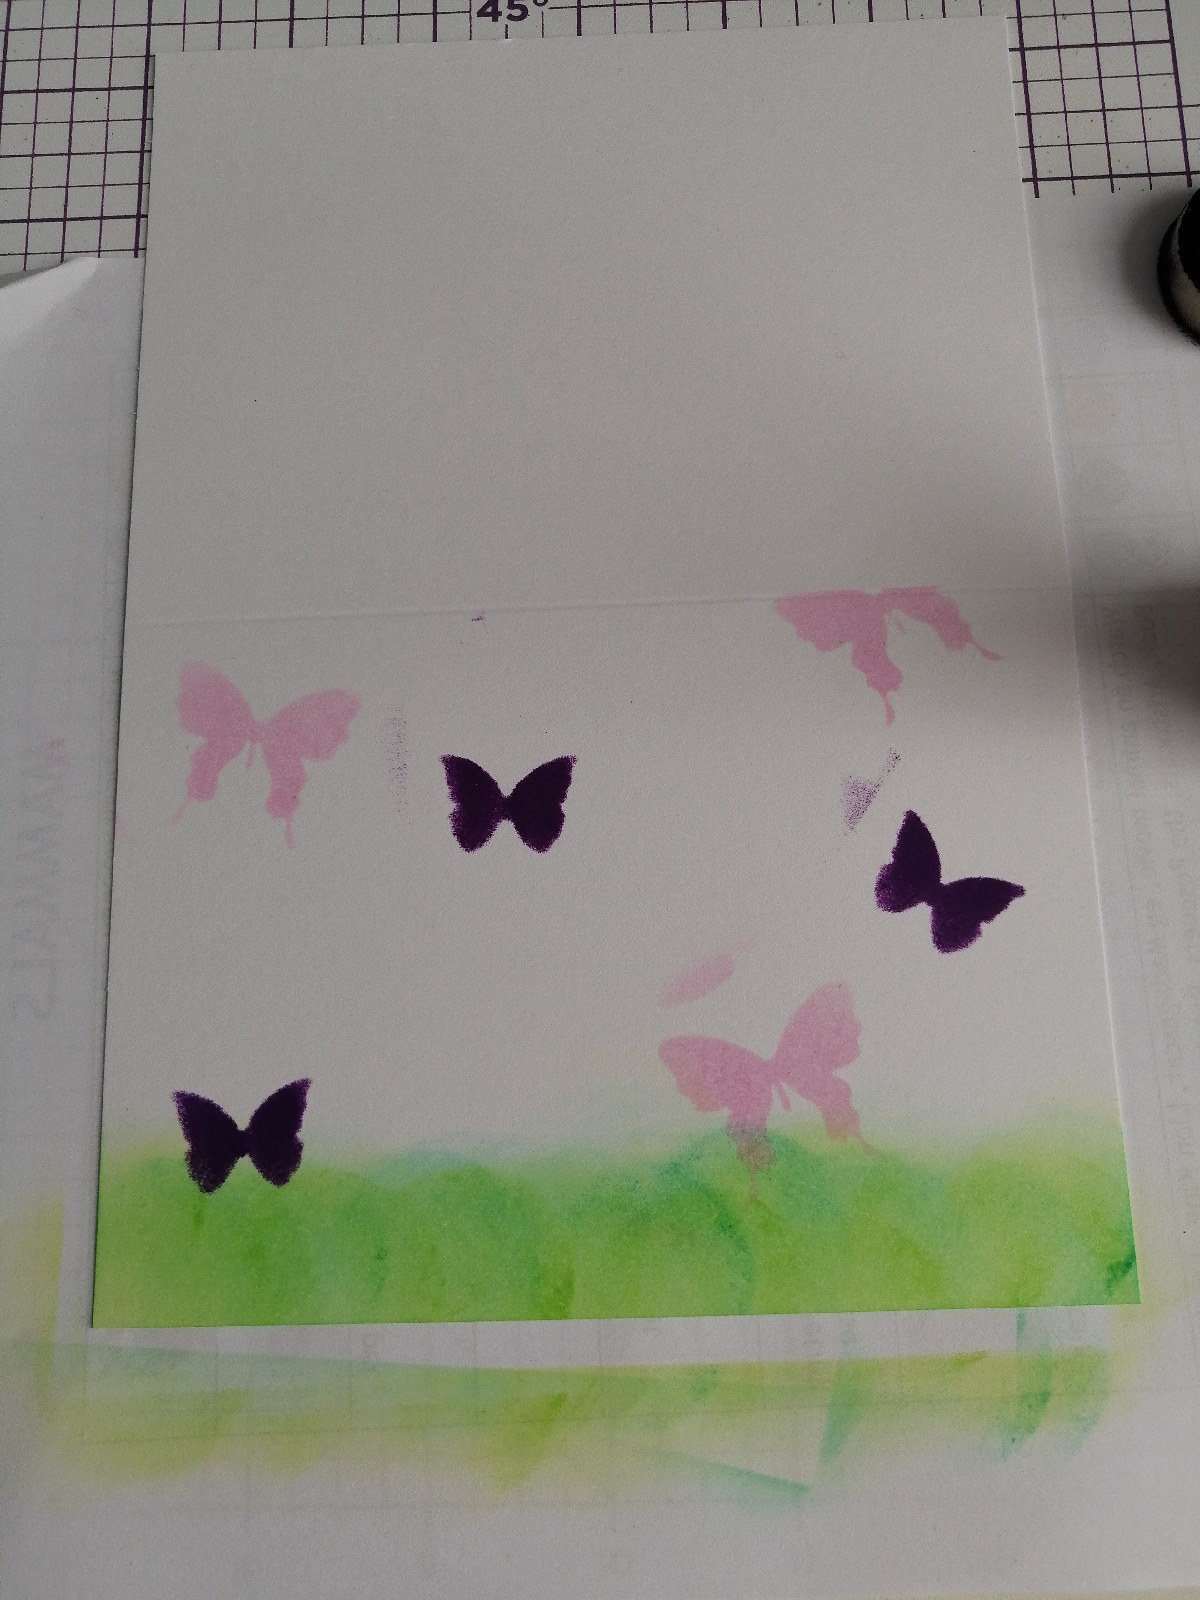
The start of the month was pretty quiet, didn't do much in the way of crafting, work kept me busy and I had no real motivation to create any new cards. But at some point during the month I saw a Facebook post asking for crafters/hobbyists to take part in local craft fairs. I reached out to the organiser and she was happy to include me in the fairs she was organising. Now I have so many cards that were already made but were not necessarily at a really high standard shall we say. I did make an effort to make some new cards which I will post photos of in a separate post. As it was near Easter, one lot of cards I did make was some Easter Bunny cards using the technique I used to make my Girlguiding cards - homemade stencil. I enjoyed making the stencils, admittedly it did take a lot of focus to be as accurate as possible. These were better stencils than the ones I previously made as this time I used acetate which can be re-used many times as long as they are cleaned off in between any usage. So I made 5 different bunny templates and then proceeded to stamp out some Easter cards:

April
I did two craft fairs this month, one at the beginning and one at the end. Along with the cards I had, I decided to try out making some origami flowers which I had seen Sara Davies giving the instructions for on her Instagram.

These actually sold best at this first fair so I knew I needed to make some more for the next one!
May
Most important thing that happens in May is my eldest nephews birthday. My boy turned 5! Now I was feeling pretty burnt out so I was planning to just buy his birthday card, poor bairn. I didn't think I could top the epic dinosaur card I made for this 4th birthday. I did not time things right and failed to purchase a card, so what do you know I'm up till 11pm the night before we were going down to my brothers for the birthday party. This one is pretty good, it came out well and reminded me I can do cards suitable for children from the stamp/die sets that I own. While the colours may not be entirely right but that doesn't bother me.

I had a weeks holiday which the birthday party was at the beginning, and during my week off I put my painting skills to the test and decorated my living room. I did another craft fair at the end of May. I had a slightly different set up for this one, I had to take my own tables so I was able to separate out the cards from the other pieces I had for sale. Again the fairs will go into another post.
June
The second round of family birthdays. My parents birthdays are 3 days apart and it was my grandmas birthday on the 2nd. It was a little rough as it was my mams second birthday without having my grandma there and it was emotional for my grandad too. We filled the week with family outings ending on a meal out with the whole family to celebrate that it was actually my mams 60th. But dad was first. I once again was sneaky and used a card I had more or less pre-made in prep for the previous craft fair as a Fathers Day card. I did also make a special gift tag which could double as a bookmark.


Now for my mam. It was her 60th birthday, so any card I made needed to be special. I had also said to my dad that I would make a card for him to give her if he couldn't find one he liked. So, first the card from my dad. This one had to be made first as I needed to get it to him undetected by mam. I used multiple different dies to create a special, different card than anything she had received before.


Panel dies used on the front, with paper piecing to make the rose stand out on the card, and pop up numbers used on the inside, just to remind her of her age!! Now the card from me mam had already made known to me needed to be special and more impressive than any other card I had made for adult family members.


Needless to say, mam was delighted and only commented that the 60 wasn't glittery. We ended the birthday week with the family meal and mam had asked me to create some gift boxes to go on the tables in lieu of party bags. Said gift boxes only held sweets and I was very please with how these went down with the family. Each box was individual, on one side there was a panel die, and on another was a birthday balloon. No two panel/balloons were the same - a bit of an achievement in itself!


I made 18 boxes in total, using 7 different panels, 1 of which came with the box kit, and the balloon stamp from Crafters Companion Balloon Sentiment stamp and die kit. Everyone enjoyed the day and loved the boxes. Lucky me managed to pinch a few boxes back to have as examples/reminders of what I made or can make to order if I was to make items to order.
The rest of June ran smoothly, at least for me it did. My parents and auntie all caught covid somewhere and I was avoiding them for almost 3 weeks! Now we're into July and it is my other aunties birthday on Sunday so I need to get cracking and make her birthday card!
This was a lot to get through and plenty of photos to put up but we're at the end of this post now. Next up will be about Christmas followed by the craft fairs.
If you have read all the way down here, then thanks for sticking this long one out 😊